The Importance of Aftercare for New Nostril Piercings
Aftercare plays a pivotal role in ensuring the success of a freshly pierced site. During this critical period, the primary objectives are to minimize the risk of infection and facilitate speedy healing through non-invasive antibacterial solutions. There are two natural substances known for their wound-friendly, antibacterial properties that can significantly aid in this process: natural salts, such as coarse sea salt or Himalayan salt, and colloidal silver. Hand washing is the penultimate first defense we have against infections of a pierced site.
Natural Salt and Colloidal Silver
To properly harness their benefits, natural salts should be dissolved in freshly boiled water, which is distilled water, and then cooled down to a skin-safe, lukewarm temperature.
This solution or Colloidal Silver is advised to wash a fresh piercing. When the skin is broken during the piercing process, skin cells are opened and exposed to the outside world. The body’s first defense is to excrete a liquid to assist in the re-knitting of those cells. This, see thru liquid called sebum, forms crystals that dry as crusts, at the entry and exit points of the new piercing tunnel. These ‘crusties’ become havens for dust and airborne pathogens. However, they are highly soluble and readily dissolve in the presence of lukewarm water, saline solution, soapy water or colloidal silver. Clean them off first and DO NOT forget the pieces stuck to the jewellery. We absolutely do not want those pieces going into our healing new piercing.
Cleaning Routine
The recommended cleaning routine for a new piercing involves bathing or showering first, during which the crusties will either dissolve or soften. If there is no bathing or showering, we proceed to the cleaning routine by washing our hands thoroughly. We make our saline solution with 3 pinches of NON-Iodate salt and the pre-boiled water. Use at least 3 to 4 lint-free Q-tips and clean the key site thoroughly. It is important not to move the jewelry around the new tunnel if the crusties are still on the bar. This could be the cause of an infection.
Rinse off and dry with a paper towel. Never use your hand, face, or bath towel.
For the first week, clean the new piercing tunnel twice a day. After this initial period, reduce the cleaning frequency (and the salt-to-water ratio or dilute your wound wash) to once a day for another 4 to 7 days.
Please take into consideration the stage of healing and the health of the site before using antibacterial creams. Afterward drying the new piercing site, apply a broad-spectrum antibiotic cream at the entry and exit points of the tunnel, working it into the tunnel with the jewelry. Wipe off the excess after application. This is not a must-do for everyone. Only if you are going to expose the new piercing to high-risk environment or if you had detected a slight infection.
It is always advised to first contact your piercing professional. They should be able to assess the status of your healing and advise you the shortest route to fast effective healing.
Healing Time
It’s important to note that the nostril wall tunnel will typically take approximately, 6 to 12 weeks to heal completely. During this healing phase, refrain from inserting a ring into the new piercing until at least 8 to 12 weeks have passed. However, if you wish to change the jewelry for an assorted color or style (but still a straight pin), it is safe to do so around the 6-week mark.
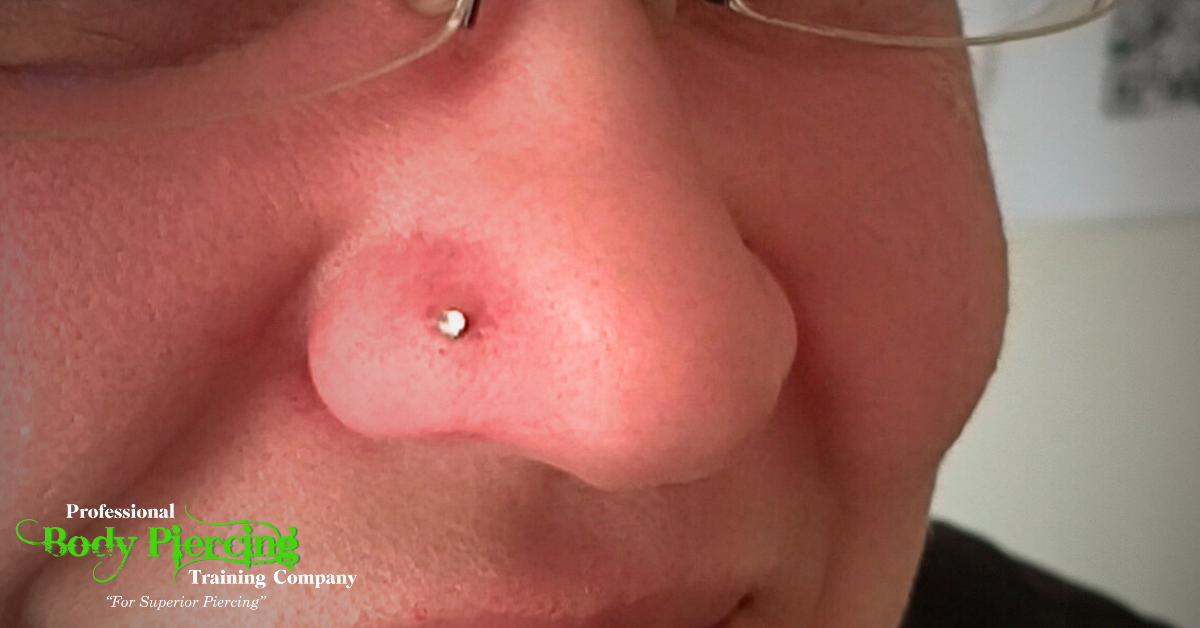
Piercing Bump
Piercing bumps are common occurrence during the healing of a nostril piercing. This is the body’s immune system responding to an irritant at the wound site. These piercing bumps appear as pink, watery swellings around the entrance or exit of the piercing tunnel. Piercing bumps are seldom keloids. If your body is prone to keloids during scarring, then your piercing bump might very well be a keloid. Also be aware, that your body, after years of ignoring an irritation bump, could decide to start growing a keloid. Please do address your piercing bumps immediately when you become aware of them
There are various natural applications which have enormous success rates or alternatively, pharmacy anti-bacterial creams. The trick to healing a piercing bump is to keep it DRY and clean. Ensure you have the correct starter jewellery as this is one of the biggest causes of piercing bumps. Close inspection of the possibilities of it being an offensive component in the metal the jewellery is made of, that is causing an allergy might get us closer.
Although, too strong a saline solution could cause the irritation, and so could too many cleaning sessions and touching the new piercing site too regularly. Our chosen cleaning solution could be the cause of the skin or wound becoming irritated. Your piercing bump might clear up on changing the cleaning solution to colloidal silver instead of saline or piercing solutions.
Seek Professional Guidance
It is crucial to remember that during the healing process of any piercing site, uncertainty should prompt immediate contact with an experienced professional. Their expertise can provide guidance and reassurance throughout your journey to a well-healed, stylish piercing.
Happy Healing – Jax